
In this blog I have explained the step by step installation of Oracle Enterprise Manager 13c on Windows server.
Make sure you have sufficient resources on your laptop or server since OEM13c is really very heavy and might slow down performance of your machine if it does not get sufficient food {resources }.
Since I have done installation on my personal laptop so I have mentioned the resource requirement accordingly. So make sure your machine has below listed resources available.
Minimum CPU, RAM, Heap Size, and Hard Disk Space Requirements Per OMS for Simple Installation
| Simple Installation | |
| Deployment Size | Evaluation or Simple |
| Configuration | 1 OMS, <100 Targets, <10 Agents, ❤ Concurrent User Sessions |
| CPU Cores/Host(Can be shared with other processes) | 2 |
| RAM11The physical memory mentioned here includes .5 GB of RAM required for Oracle BI Publisher. At the time of installation, if you choose not to configure Oracle BI Publisher, then the actual physical memory required can be .5 GB less than what is mentioned here.(With Oracle BI Publisher and JVMD Engine) | 10 GB |
| Hard Disk Space(With Oracle Software Library, Oracle BI Publisher, and JVMD Engine) | 24 GB |
| Temporary Directory Hard Disk Space | 10 GB |
| Oracle WebLogic Server JVM Heap Size | 1 GB |
I am assuming you already have a database created for your OEM. In my environment I have 12C database created.
Step 1: Download the software. {there are 5 files}
http://www.oracle.com/technetwork/oem/grid-control/downloads/oem-windows-2823282.html
Step 2: Run the installer
It will run for sometime and you can monitor the progress.
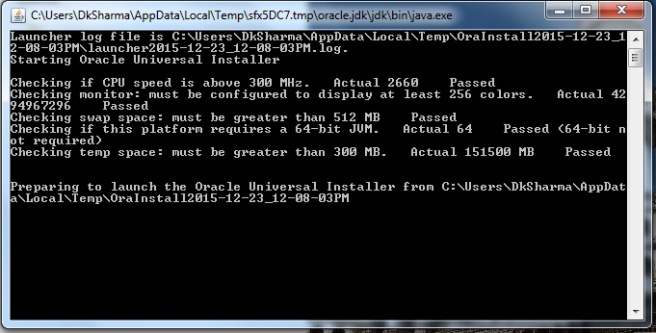
Once the Installer is finished, it run the prerequisite system compatibility test to start the setup.
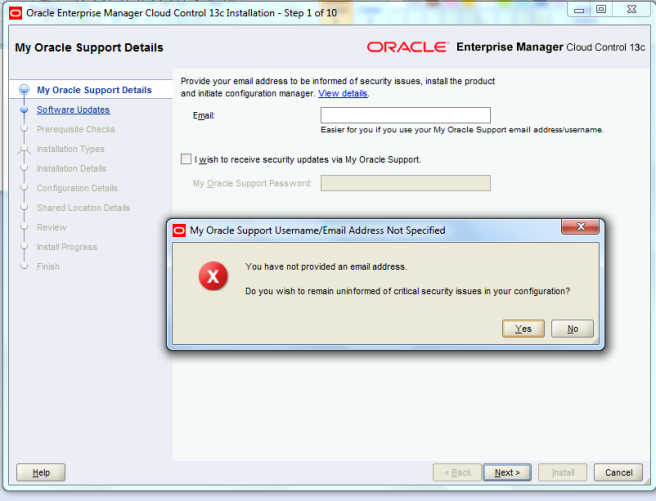
Step 3: Enter your MOS account details (optional), if you want to receive security updates from Oracle.
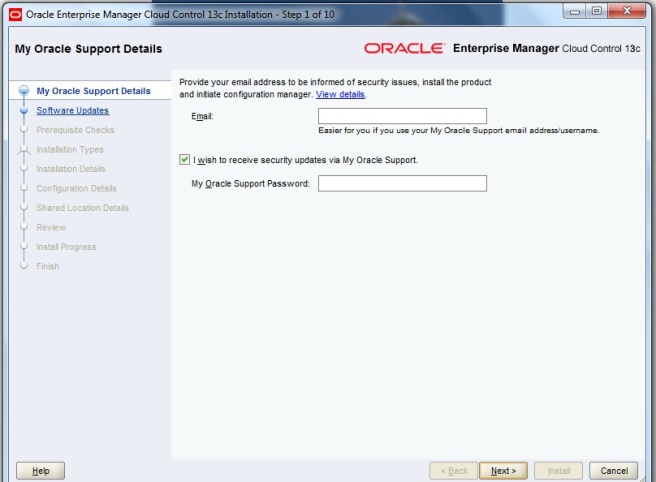
Just a warning will be displayed if you skip your “Support Details” part, you have to confirm that you do not wish to receive updates.
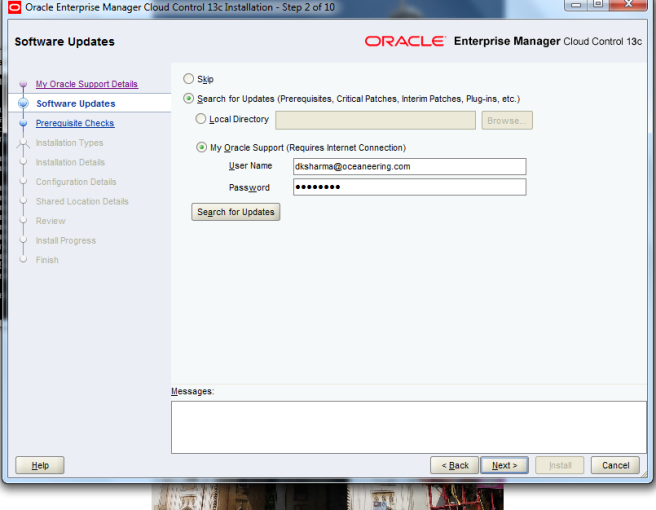
Step 4: Software update search. It is recommended to run this step to ensure your environment is ready for this installation.
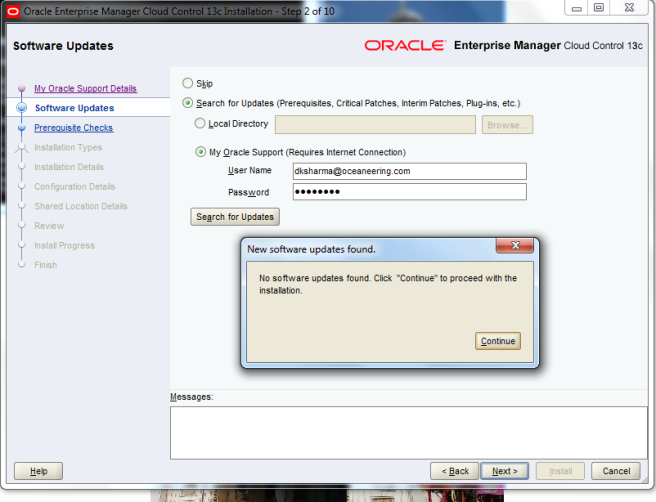
If your machine is having all the updated required softwares it will prompt “No updates found”
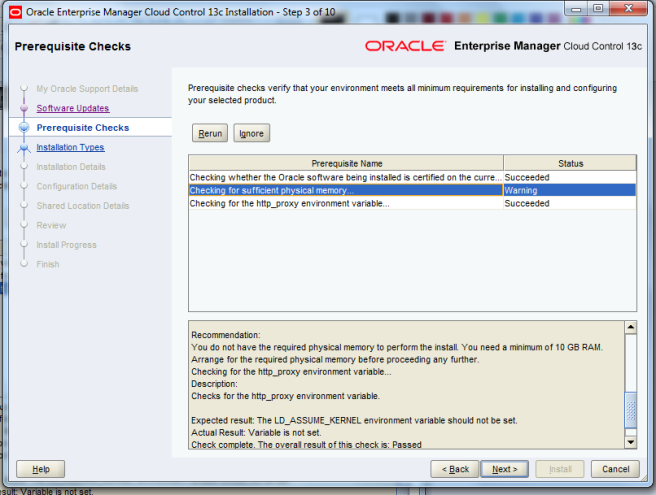
Step 5: Prerequisite Check. It will run a check to ensure you have sufficient resources available.
{Like in my case I got warning for in-sufficient RAM minimum required was 10 Gb and I had 8Gb of RAM, still I decided to continue with Installation. I was crazy to test this new release and lazy enough to increase my machine’s RAM to 10Gb.}
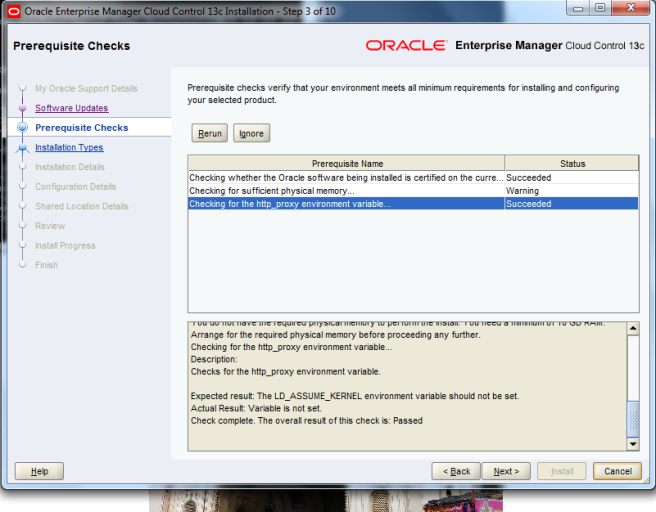
Click NEXT to continue with Installation.
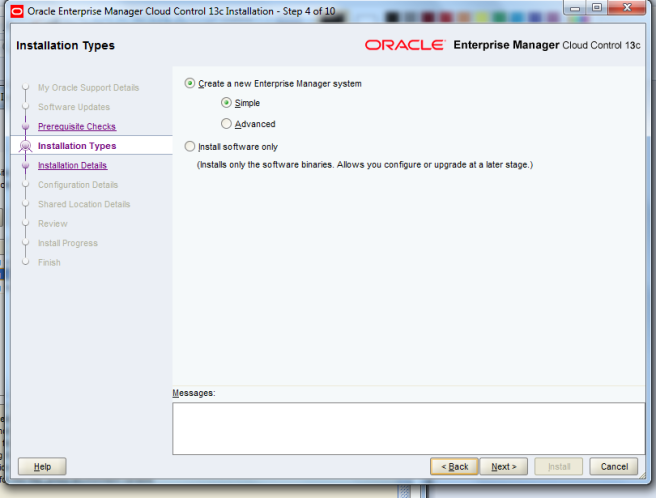
Step 6: Installation Type. {Simple or Advanced}
If you are already familiar with previous releases and are EM DBA you can go for “Advanced” option.
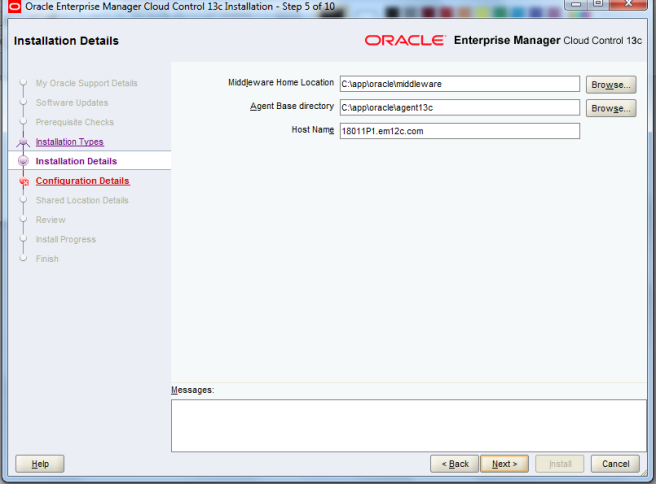
Step 7: Setting up Installation directories. Here you have configure you Middleware Home, Agent Base Directory and Hostname.
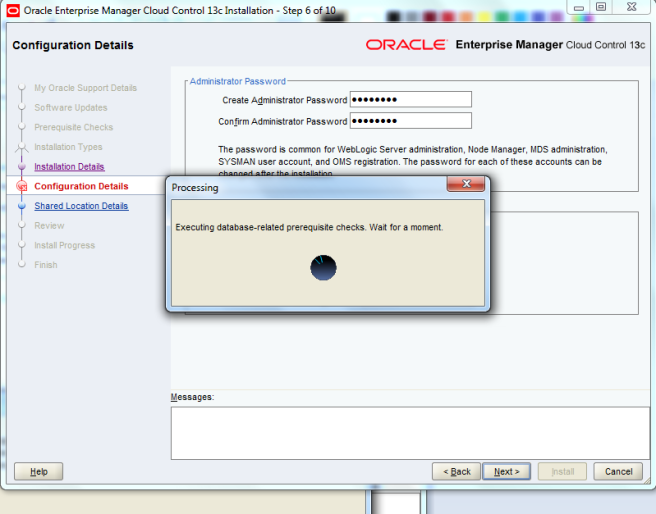
Step 8: Set Administrator Password and put your database connection details.
[Informational message will pop-up with recommendation to setup AL32UTF8 character set for EM Repository database.]
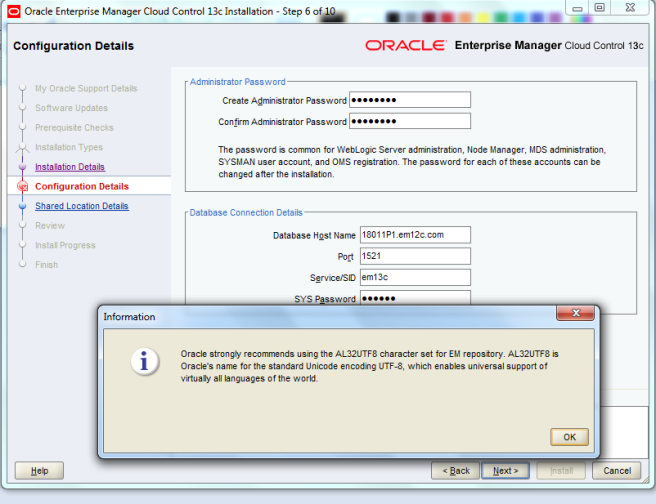
Click OK, it will execute some prerequisite checks.
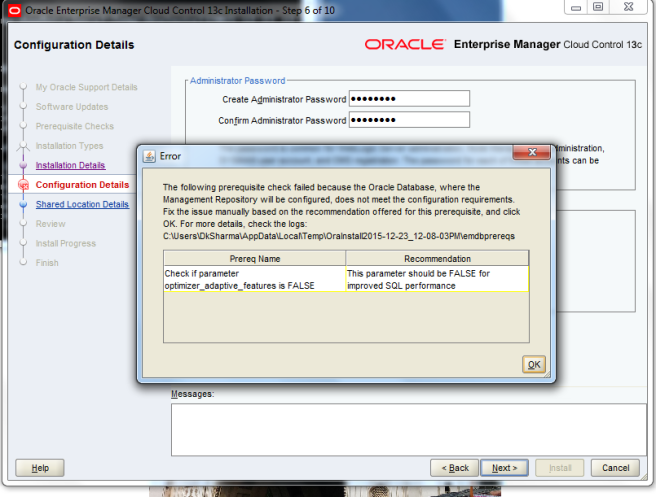
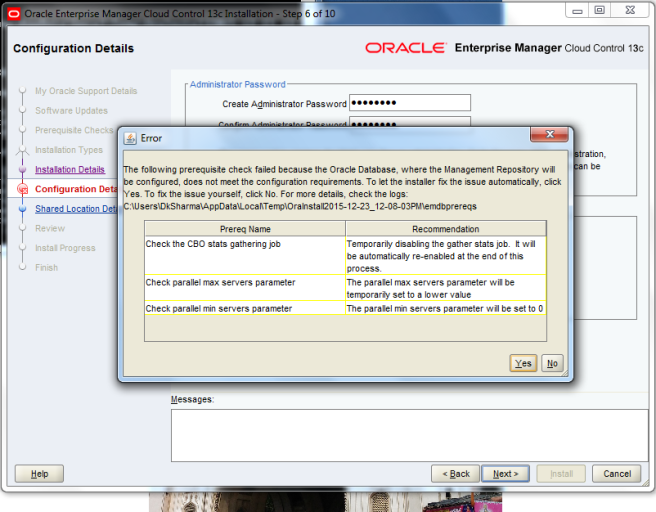
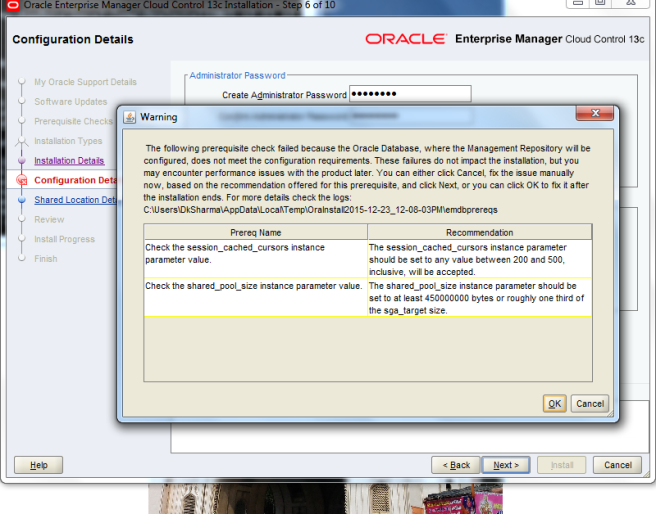
In next few steps you will be prompted for mismatch of you database settings if they already do not match with the recommended setting for OEM13c installation.
Prompted to check “optimizer_adaptive_features” parameter
Prompted to check “parallel max and min servers” parameter
Prompted to check “shared_pool_size” & “session_cached_cursors” parameter
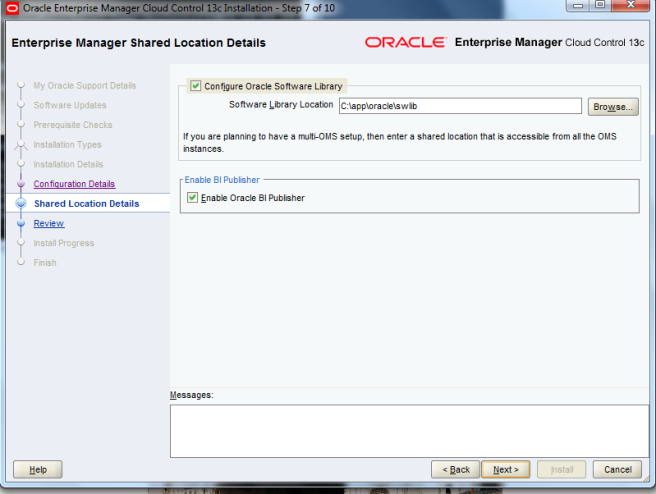
Step 9 : Configure Software Library and Enable BI Publisher.
OEM13c gives you option to configure and enable “BI Publisher” during Installation itself.
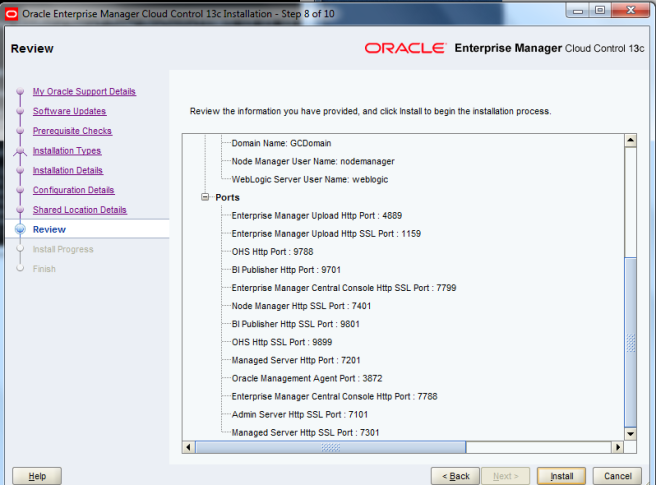
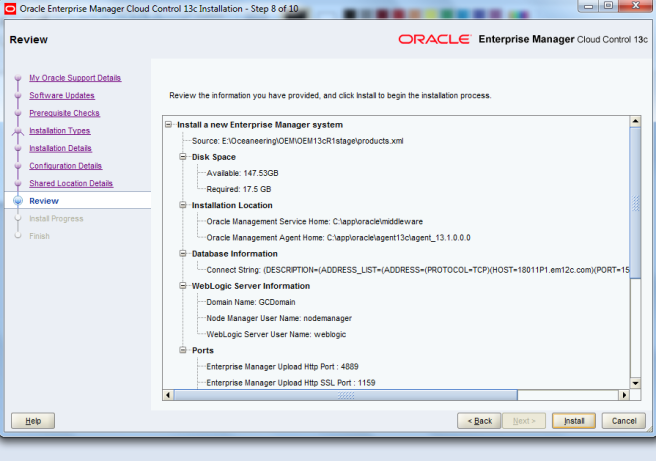
Step 10: Review all details entered in all previous steps.
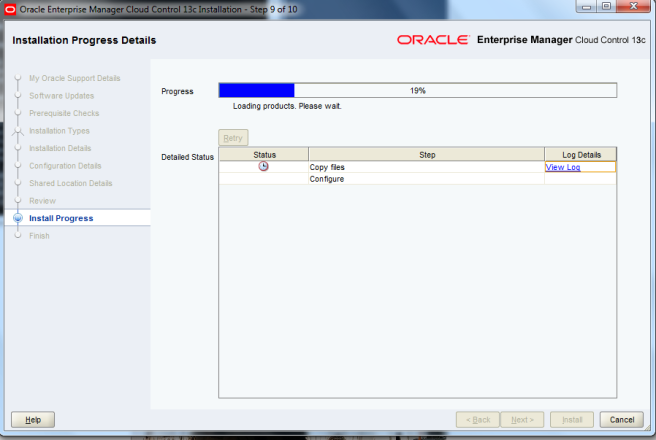
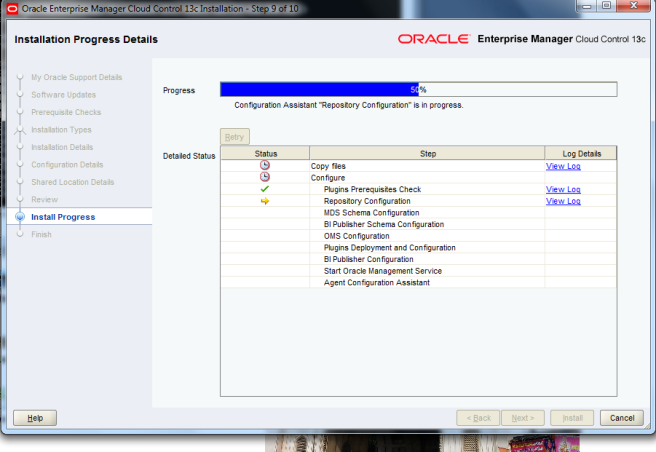
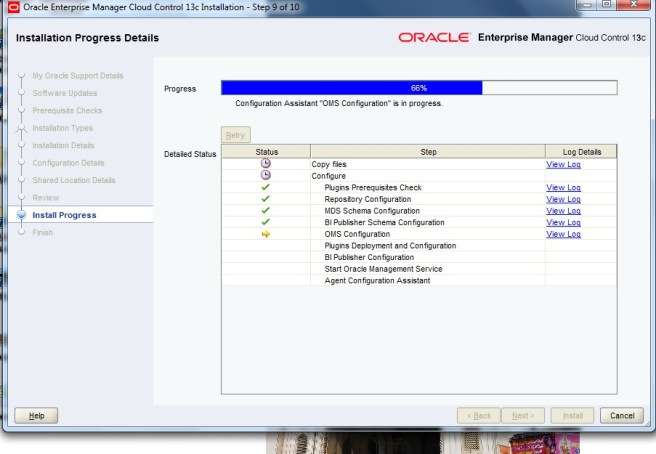
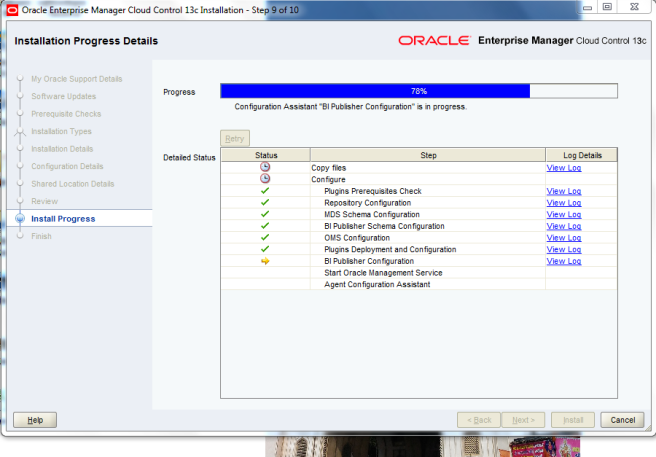
Step 11: Start the installation.
[Now if you are installing it on your laptop with insufficient resources just like mine 😉 RAM 8Gb , believe me installation is going to take more than 4 hours it happened with me. So if you do not want to get irritated while setting this up make sure you have a very good machine with you for your installation ]
Once the Installation is finished, it will run a clean-up process.
Now you are ready to use your OEM13c.
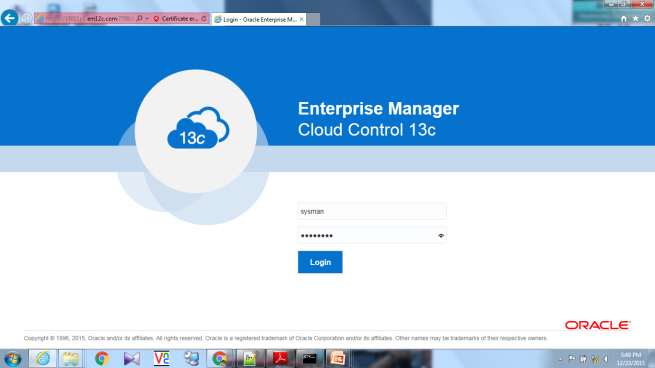
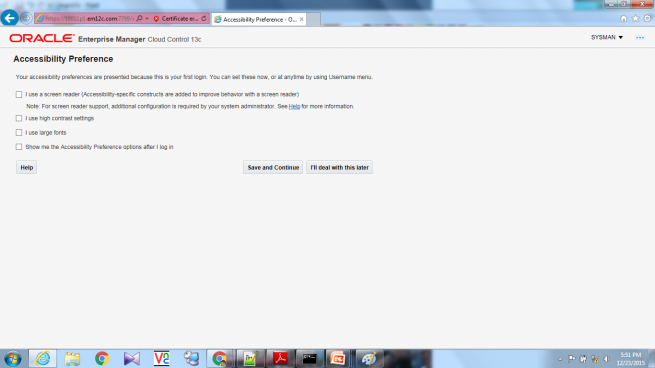
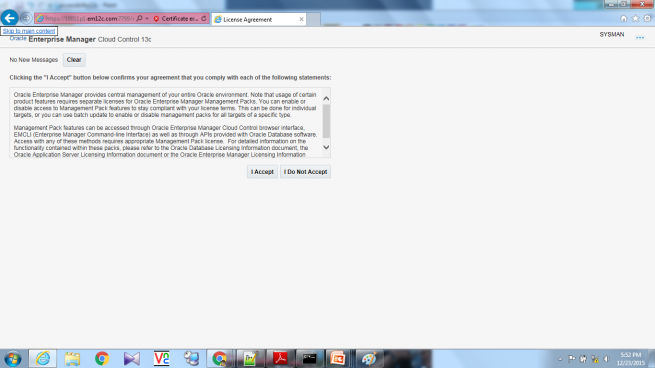
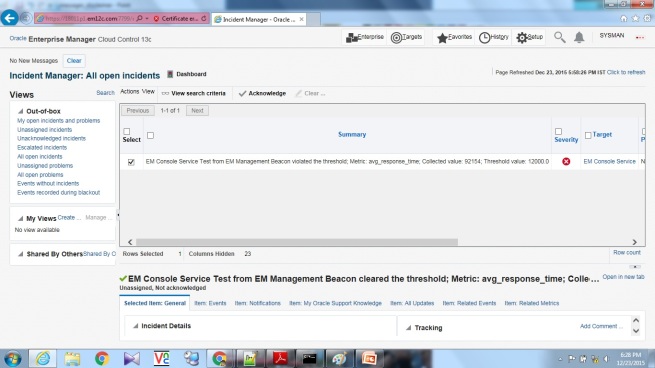
EXCITED… Believe me I was very much eager to start using it. I have put some more screenshot of the “Login Console, Welcome Page, Incident Manager etc.. “ check out below.
Accessibility Preferences Page
Disclaimer Page
Incident Manager Page
I’ll be posting more stuff soon on this new release of OEM 13c. Hope this blog will help to install OEM13c easily on your machine.